The following is an in-depth guide for the Basic Controls and features of Patterns.
Controls[ | ]
| Key | Result |
| WASD/Arrow Keys | Move forward, backward, left and right |
| Space | Jump
Ascend when avatar is flying |
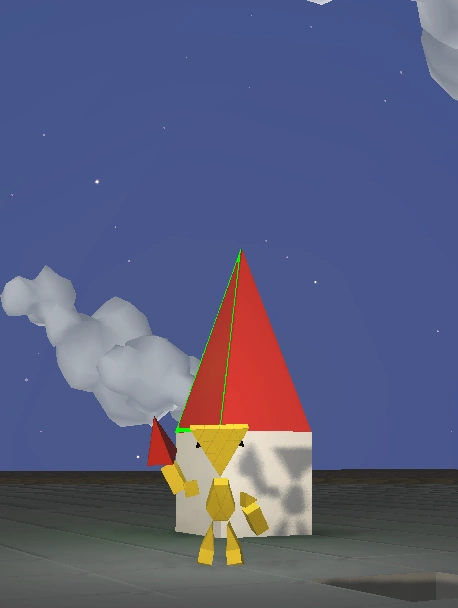
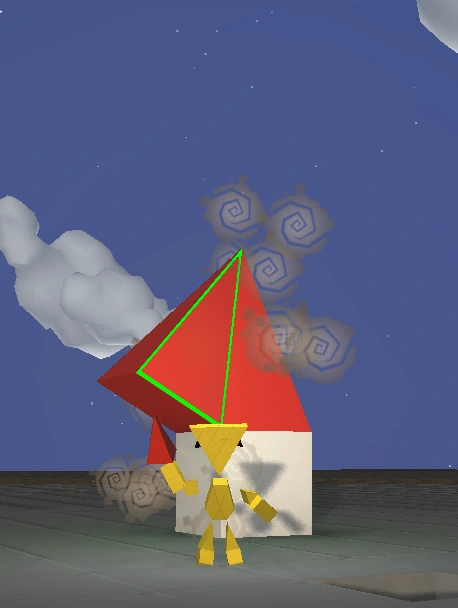
| C | Repeat placement of last selected shape in the established direction |
| E | Open inventory |
| Q | Toggle between Action Bar and Materials Bar |
| Tab | Toggle between Break Beam and equipping selected object from the Action Bar |
| F | Toggle avatar flight on/off (Creative Mode only) |
| LMB Hold + WASD | Rotate shapes and models when you are actively placing them |
| RMB (on shape) | Enter selection mode on selected shape or model |
| RMB x2 (on shape) | Expand your selection to a larger cluster of shapes |
| RMB multiple times on shape | Selection will include an increasing number of shapes |
| LMB (equipped) | Place Tiles, Shapes, and Models |
| NumKeys/Action Bar | Equip Tiles, Shapes, and Models |
| LMB (nothing equipped) | Break beam/Destroy blocks |
| RMB/Ctrl+Left Mouse Button | Camera Control (in 3rd Person mode) |
Construction Overview[ | ]
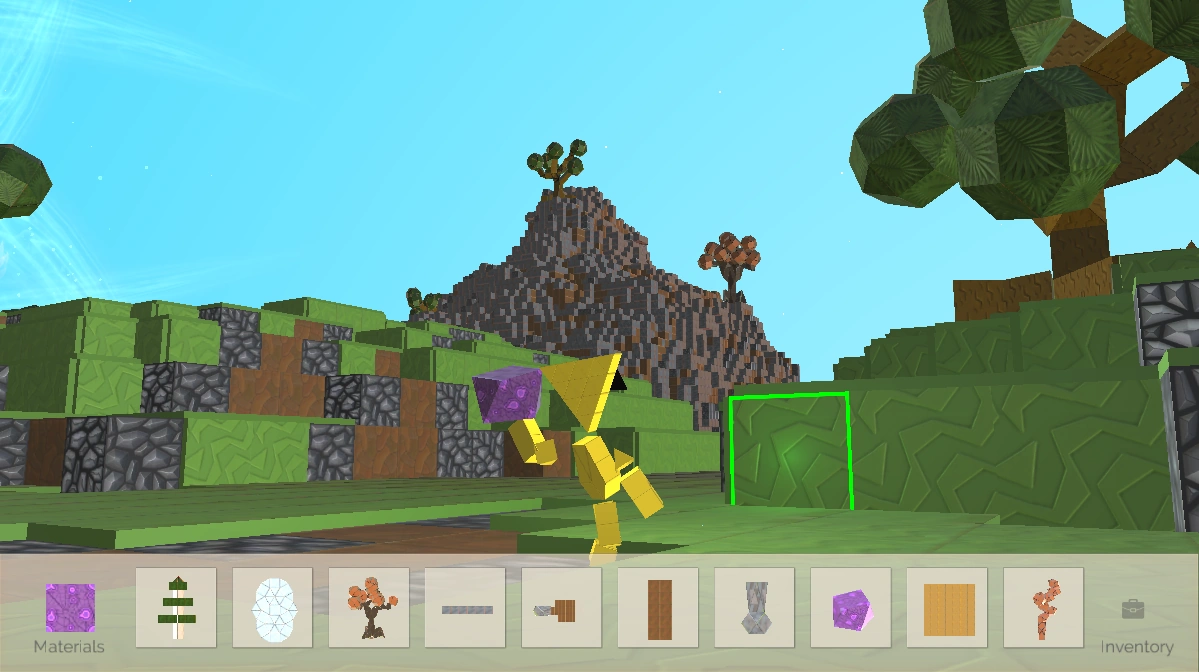
1. This is the view you have in game.
2. The Action Bar at the bottom of the screen contains shapes and models you can build with. Left-click on a shape or model or type the corresponding number to equip that object.
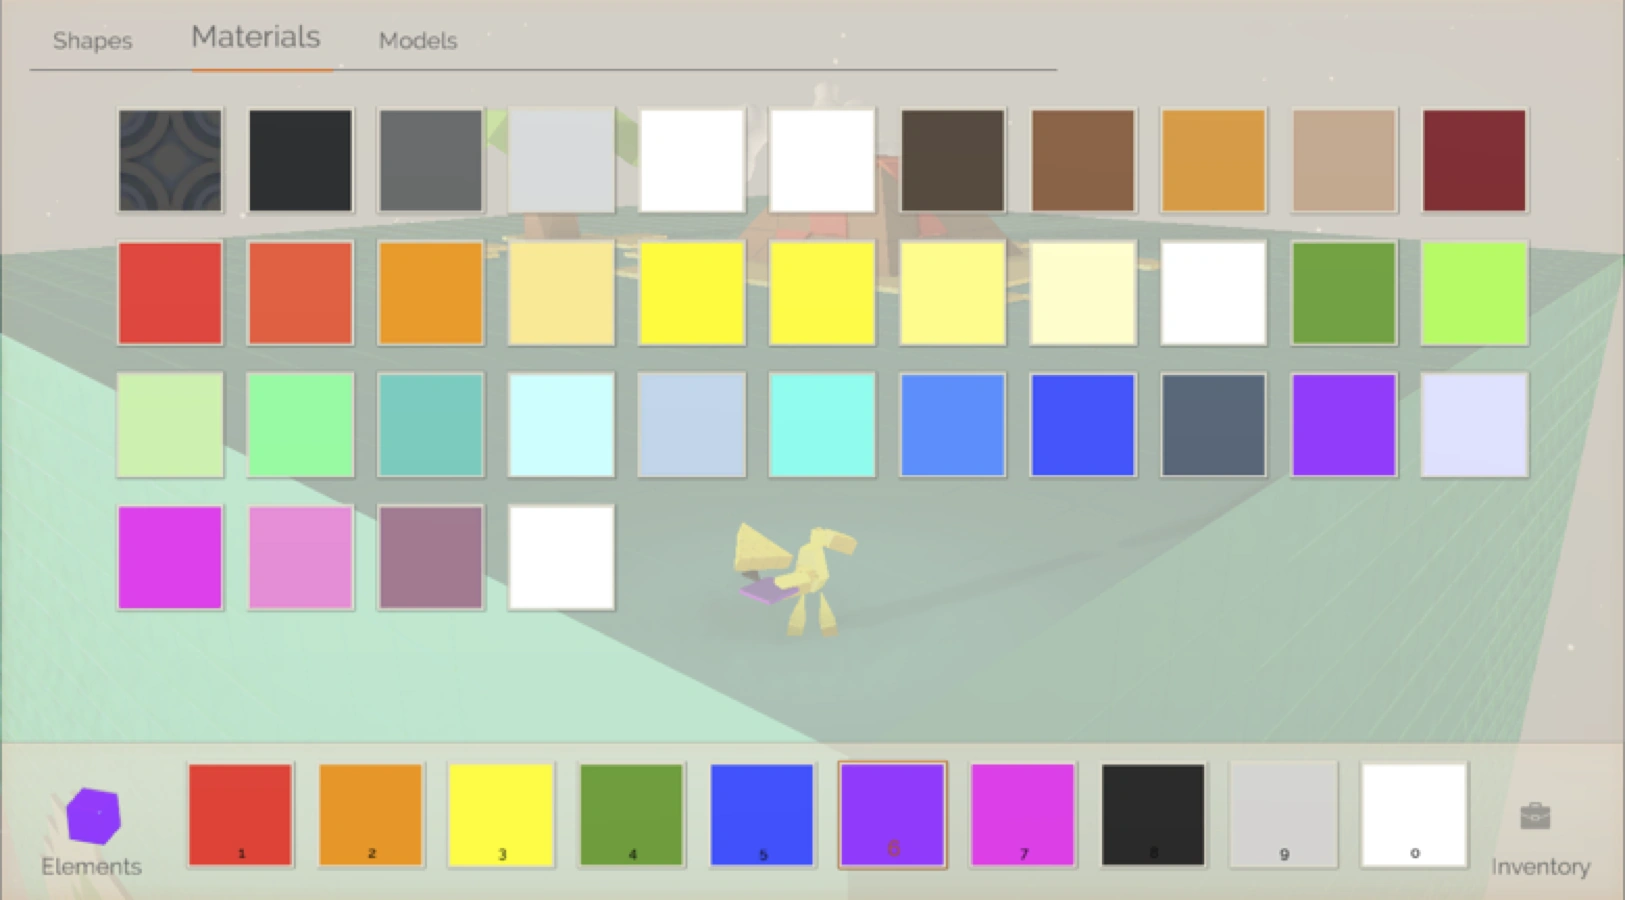
3. Tap "q" to toggle between the Action Bar and the Materials Bar.
4. When the Materials Bar is active, left-click on a material or type the corresponding number to equip that material. Now, when you place a Shape, it will be made of the selected material.
5. Some materials have special attributes. Discover for yourself when exploring worlds, or set up your own attributes with the Materials Editor for greater control.
6. Left-click to place objects in the world and unleash your creativity.
7. Use "Tab" to toggle between placing objects from the Action Bar and using the Break Beam.
8. When the Break Beam is active, left-click to destroy targeted shapes.
9. You will navigate your character through the world as you explore, break and create.
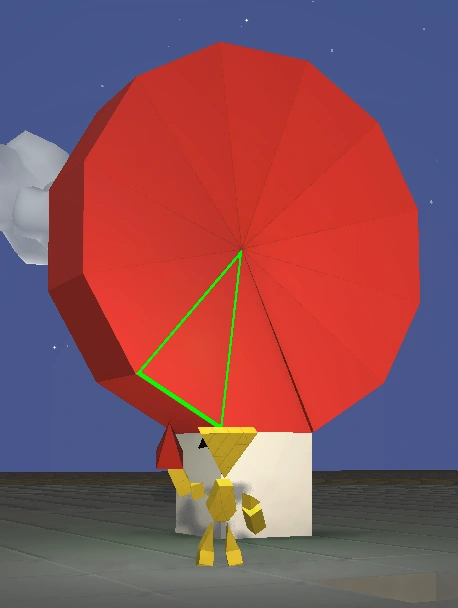
The C shortcut key will repeatedly place the previous shape each time the key is pressed. Continuously hitting C will keep repeating shapes. For example, place a wedge, select a face and then press the C key again and again and this is what you will get.
Inventory[ | ]
The “E” shortcut key will bring up the inventory screen.
Tabs in the inventory allow you to access shapes, materials from your selected Materials Pack, and models you have created and saved. You can drag items from your inventory to the Action Bar at the bottom of the screen.
Options[ | ]
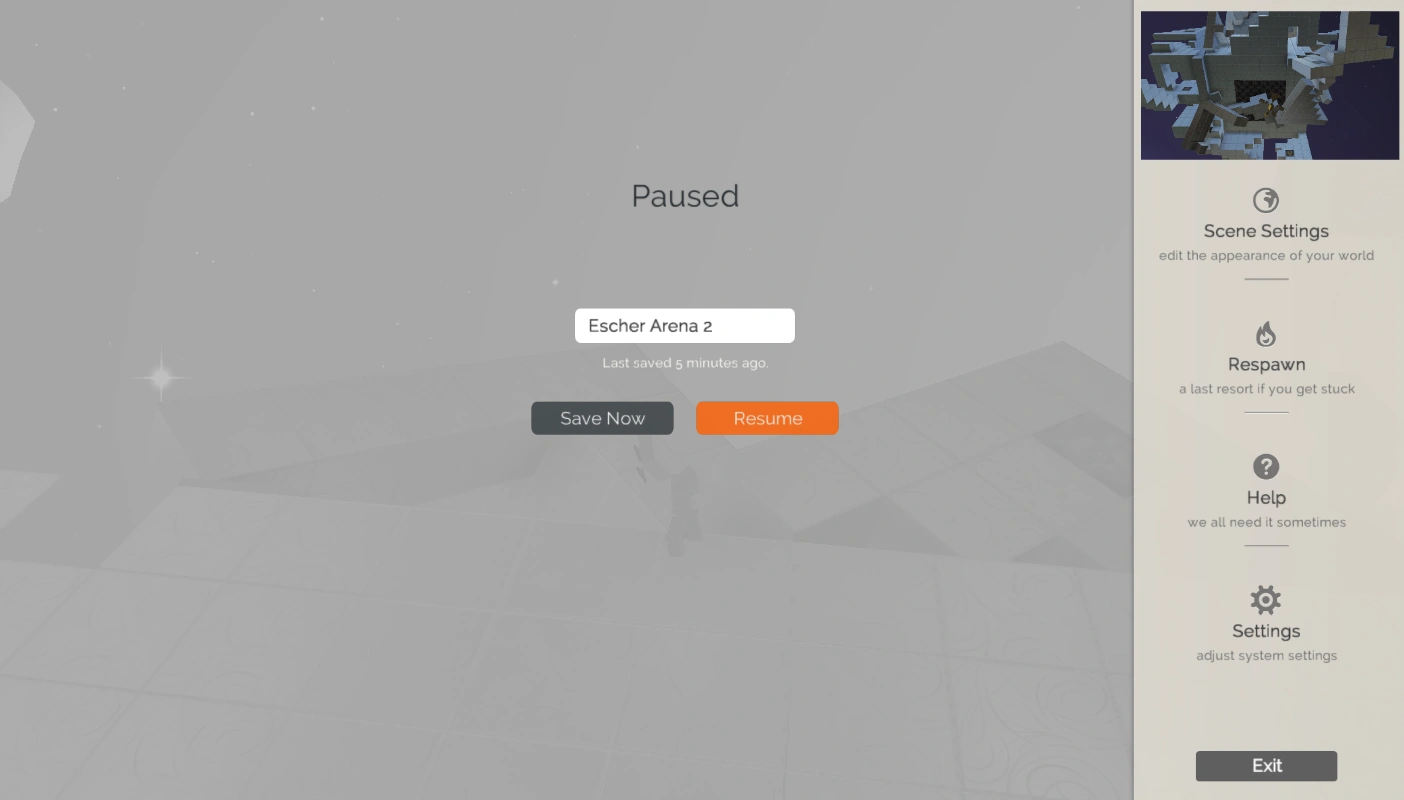
1. "Esc" brings up the options menu.
2. Save Now allows you to save instances of your worlds.
3. Resume or pressing "Esc" a second time will return you to your game.
4. Scene Settings allows you to set up the properties of a world and change the Materials Pack. When you publish your world, these settings will be seen by anyone who visits the world from the Cosmos. (Create Mode only)
5. Respawn will self-destruct your avatar, allowing you to respawn at your last spawn point. Use this if you get stuck.
6. Help provides a list of shortcut keys and information on how to interact with Patterns.
7. Settings will enable you to adjust Controls, Graphics and Audio settings.
8. Like will allow you to like a world that someone else created. Worlds with a lot of likes will be featured in the Cosmos.
9. Report objectionable content enables players to report uploaded places that don’t adhere to their sensibilities.
10. Exit allows you to leave your current session and return to the Main Menu.
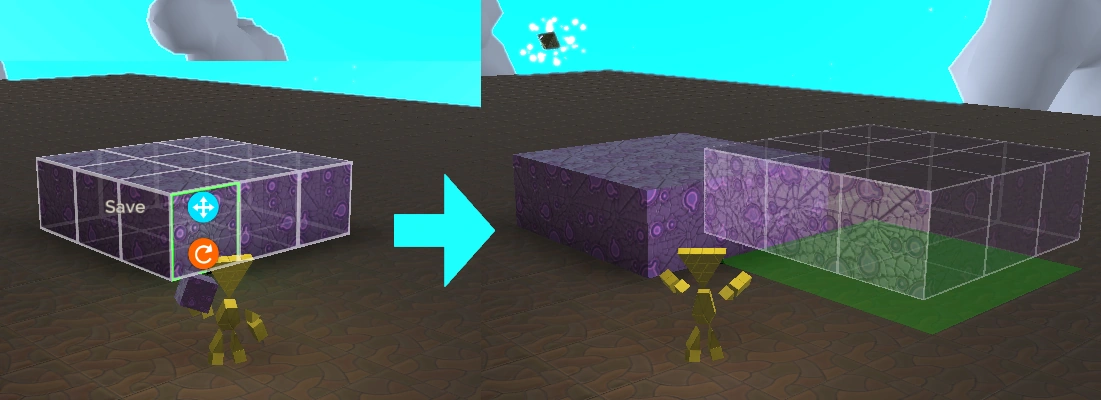
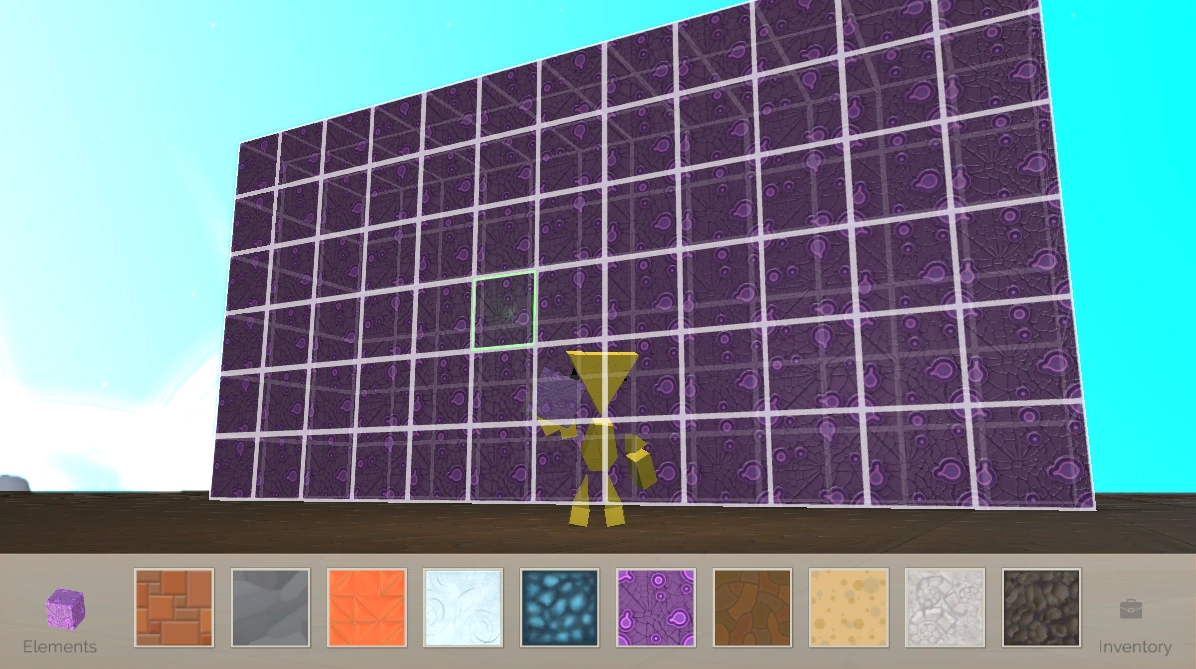
Selection Mode[ | ]
Using the right mouse button to highlight selections opens up new tricks for rapid construction:
1. Right-click once to select a single shape.
2. Right click additional times to grow your selection.
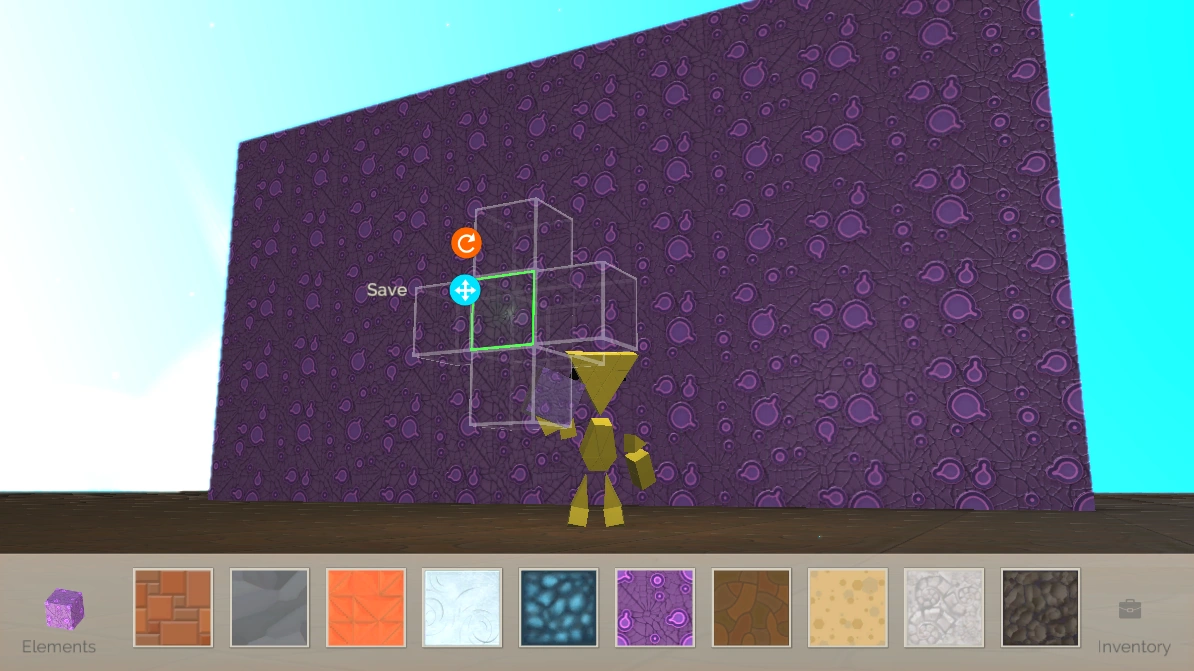
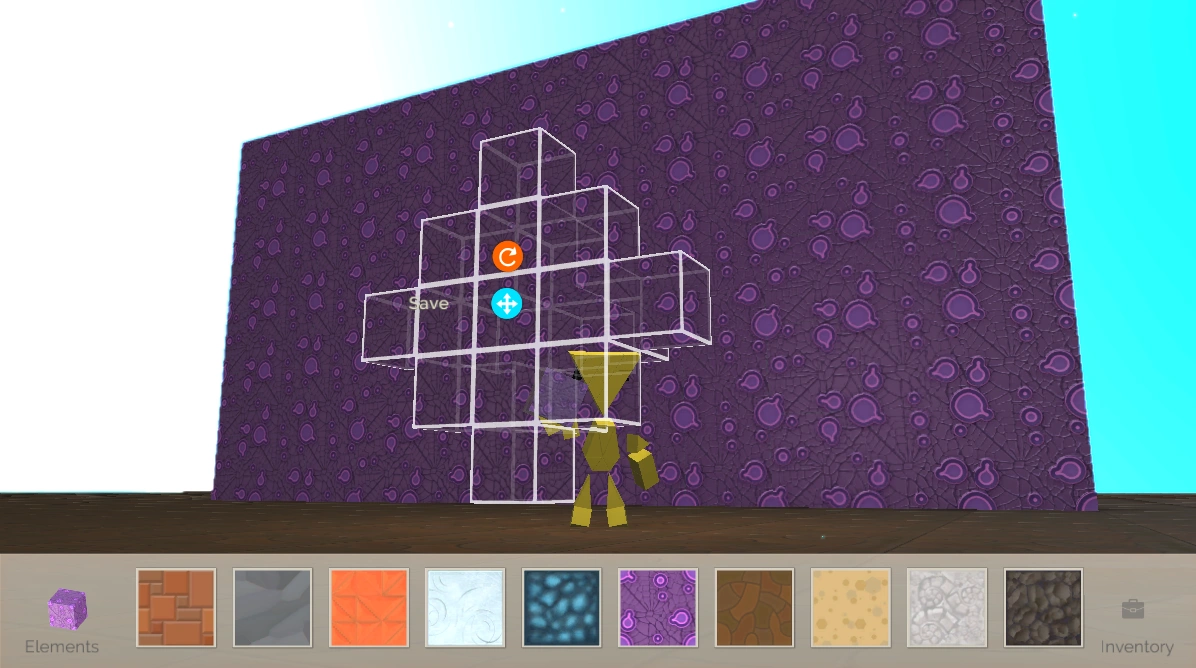
3. Press "Delete" or "Backspace" to delete your selection. (Create Mode only)
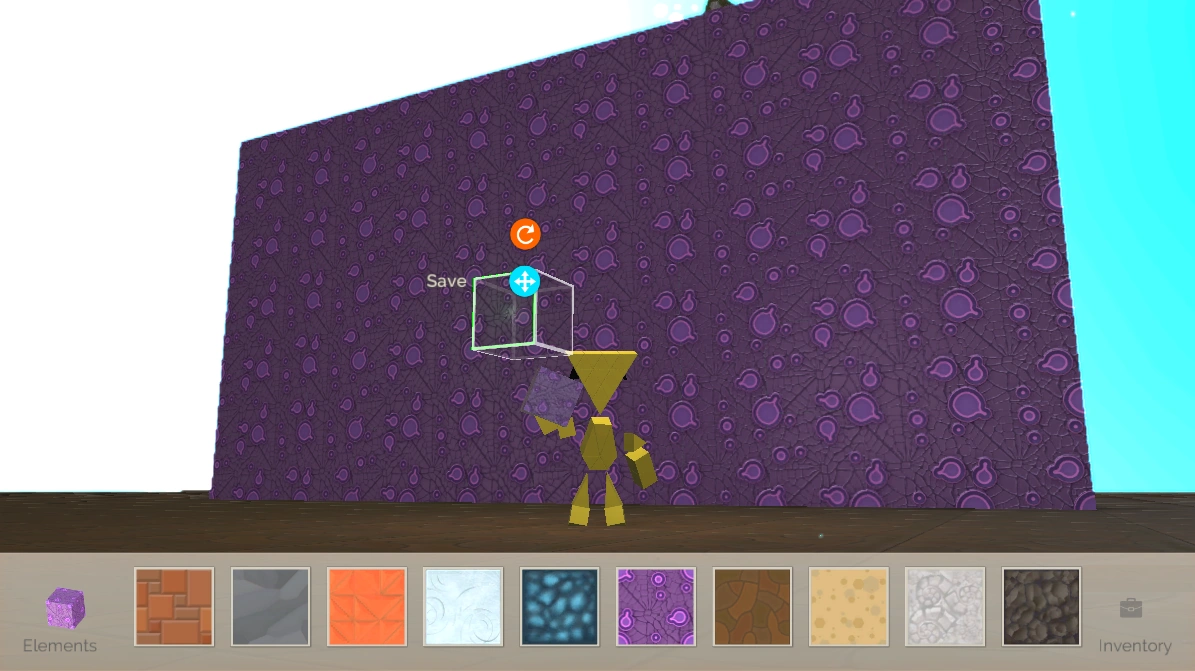
4. Click and hold the move button to move a selection.
![]()
5. Click the rotate button to rotate a selection. (You can also use WASD to rotate an object while moving it)
![]()
6. Save will add the selection to the models tab of your inventory.
![]()
7. Shift + click the move move icon to clone your given selection.